Roughbeak
Member
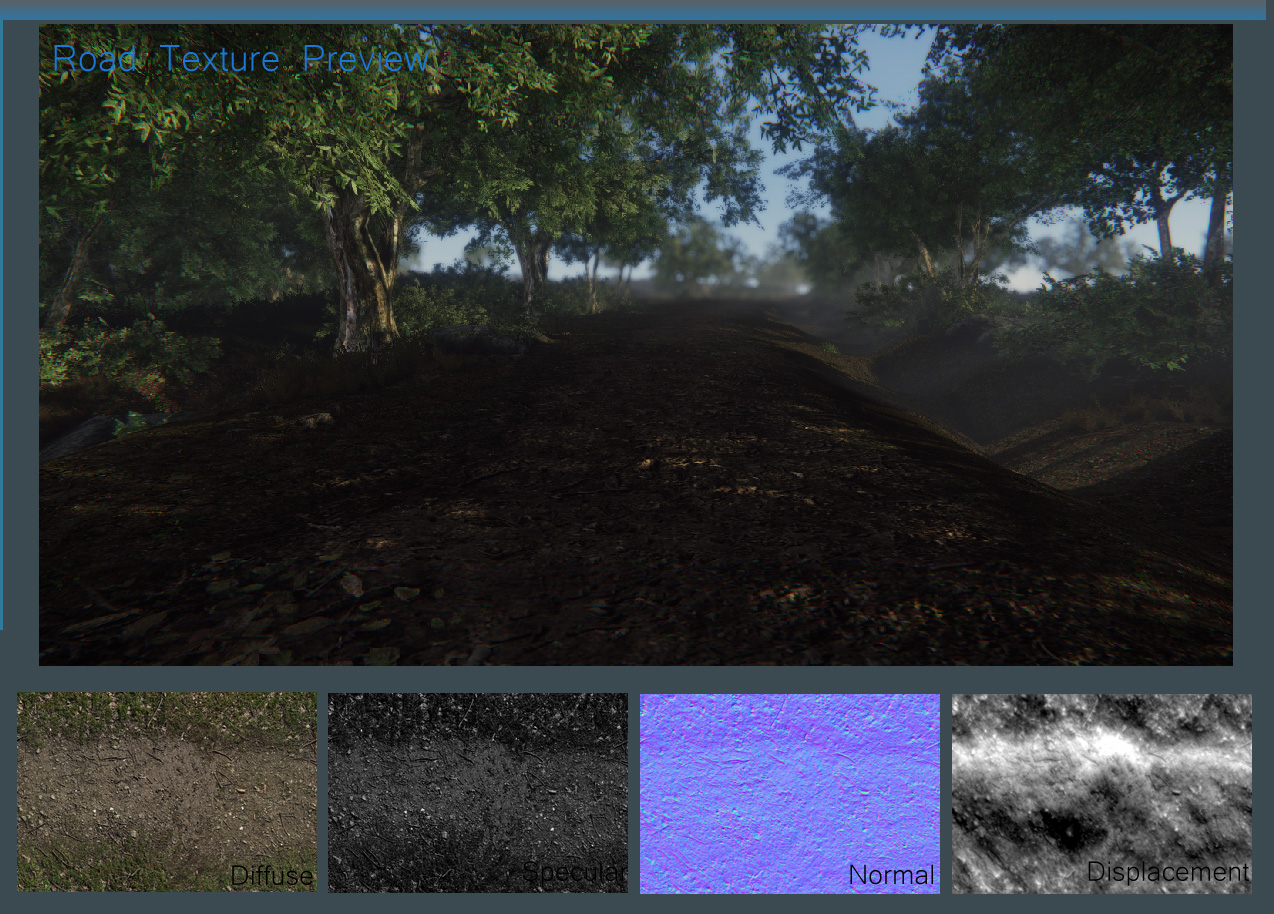
*_* the textures, mein gott.
Haha, I just converted a photo to a seamless in Photoshop. Then finally I created + added the various texture maps: Diffuse, Spec, Normal etc.
")
Last edited:
Welcome to the Vanguard Community
These forums date back to the game's origins as the Crysis mod Traction Wars. Over the years the game and internet habits have evolved and discord.gg/vanguardww2 is now the principle home of the community.
The team continue to read and reply to posts here, but we can be contacted more quickly on Discord.
*_* the textures, mein gott.
Haha, I just converted a photo to a seamless in Photoshop. Then finally I created + added the various texture maps: Diffuse, Spec, Normal etc.
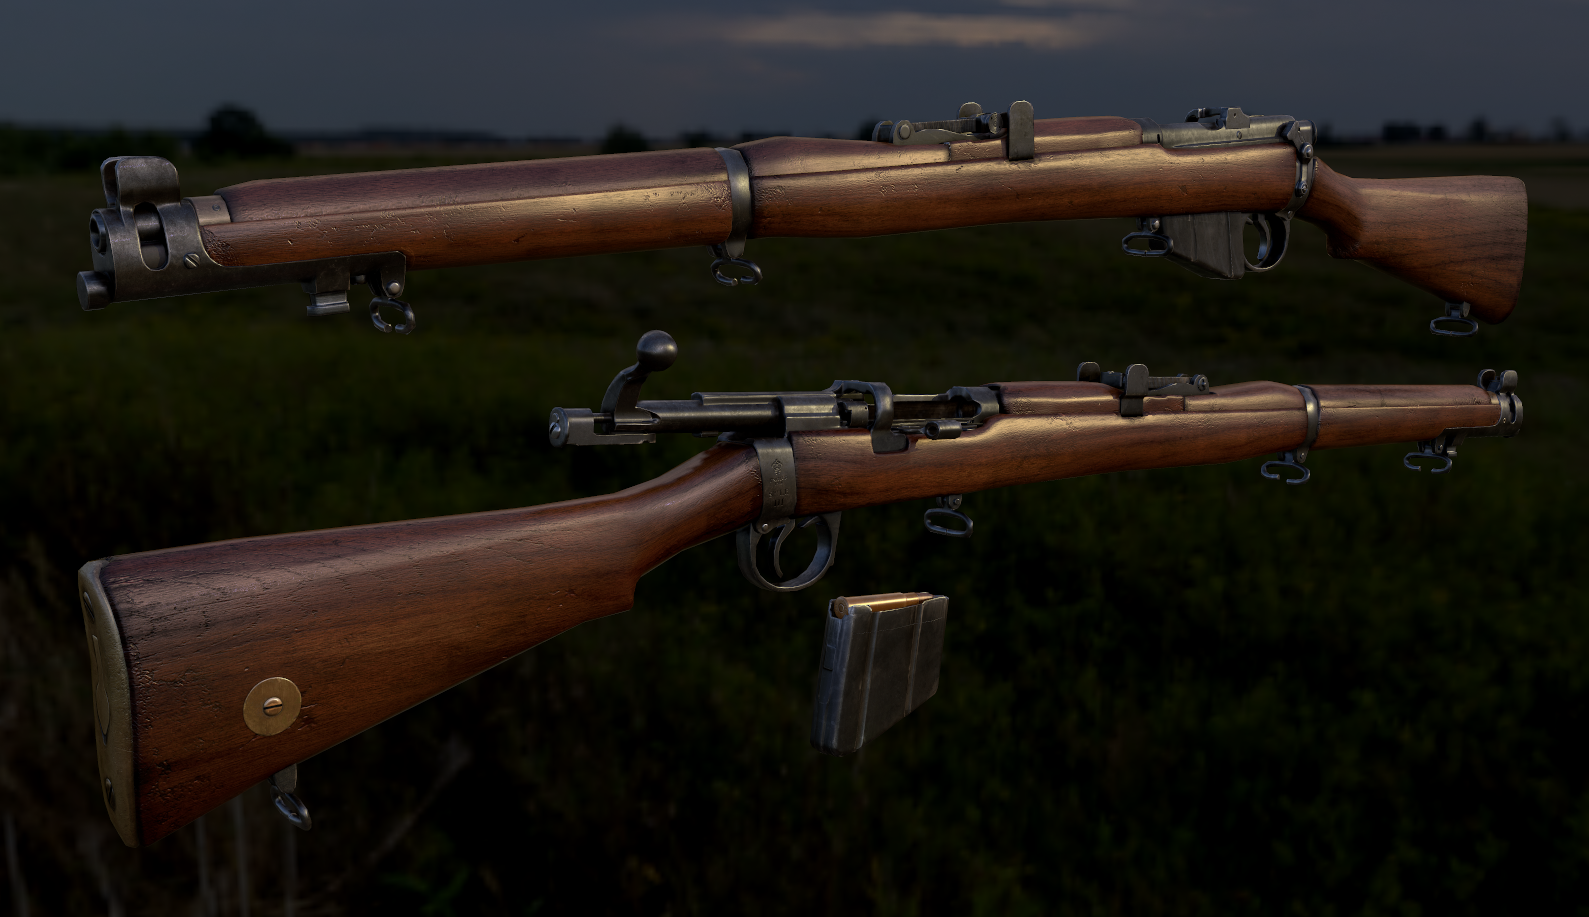
I'd defend that beachI'd storm that beach
Rough you are a true artist.
That looks awesome.
Perhaps one day I will talk to my son and say "see that famous game dev? I onde chattend on forums with him."